
The single most important decision on a PVC banner isn't the artwork, it's whether the finishing matches where the banner will actually hang: outdoors in wind needs hemmed edges, metal eyelets and sometimes wind slits, while an indoor banner for one weekend can get away with lighter finishing and save some cost.
Material weight
PVC banner material is measured in grams per square metre (gsm), and this is the main driver of durability and price. Lighter material, typically around 300-340gsm, is fine for short indoor use such as a conference backdrop or a single event, where it won't be exposed to wind or rain. Heavier material, from around 440gsm up to 510gsm or more, is what's needed for anything staying outdoors for weeks or months, since it resists tearing, stretching and UV fading far better.
Weight guide
| Use case | Recommended weight | Notes |
|---|---|---|
| Single indoor event | 300-340gsm | Lightweight, good value, not wind-rated |
| Shop front, short outdoor run | 380-440gsm | Balanced durability and cost |
| Long-term outdoor, exposed sites | 440-510gsm+ | Best UV and tear resistance |
Hems and finishing
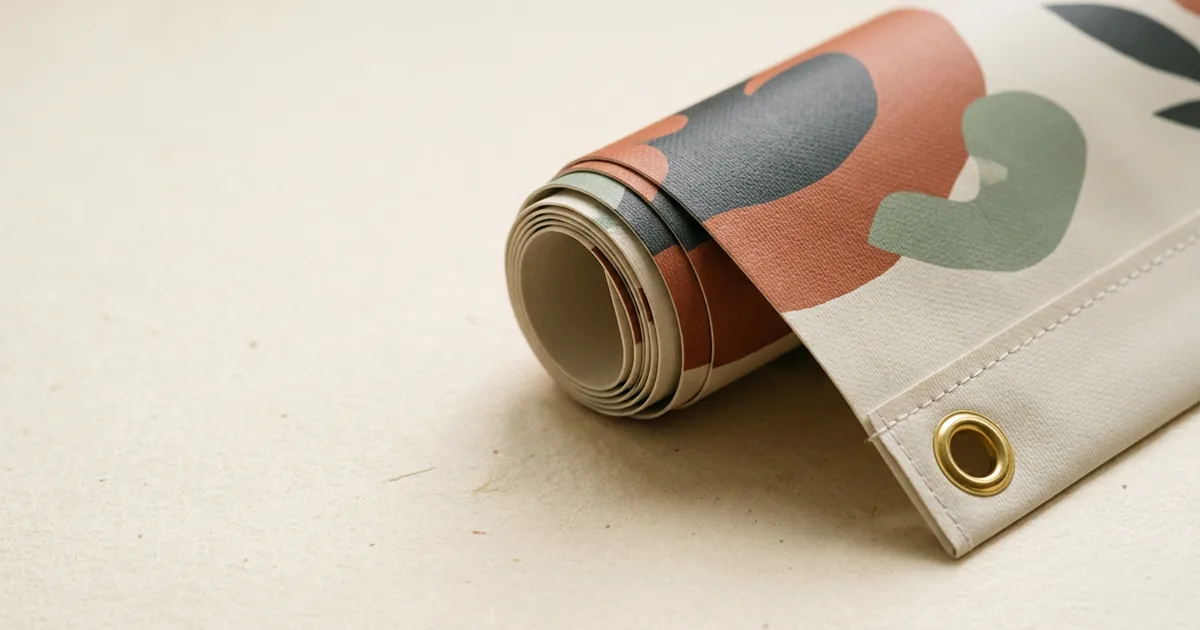
A hem is a folded, heat-welded edge around the banner that reinforces it and stops fraying, and it's what the eyelets are punched through. Any banner going outdoors, or being pulled taut on a frame, should have a hem all the way round rather than raw cut edges, which will fray and tear under tension far sooner. For banners displayed indoors and taken down after a single use, a hem is less critical but still adds a tidier finish.
Eyelets and spacing
Eyelets (metal or plastic rings set into the hem) are the standard fixing point for rope, cable ties or hooks. As a rule of thumb, eyelets every 500mm around the perimeter give enough support without the banner sagging between fixing points; large banners or anything in a windy spot benefit from closer spacing, particularly along the top edge which carries most of the load.
Wind slits
For any banner that will be exposed to open wind, such as one attached to fencing or scaffolding, wind slits are worth specifying. These are small horizontal cuts, usually reinforced at the edges, that let wind pass through the banner rather than catching it like a sail. Without them, a large banner in a gust can tear at the eyelets or pull its fixings loose.
Common fixing methods
- Rope or cable ties through eyelets – the most common method for fencing, scaffolding and hoardings.
- Pole pockets – a sewn or welded sleeve along the top (and sometimes bottom) edge that a pole slides through, ideal for banners hung between two points without eyelets showing.
- Velcro or hook strips – used for banners fixed to a frame or stand rather than tied.
- PVC webbing or reinforced corners – added strength at the points that take the most strain on large or heavy banners.
A few things to check before ordering
Confirm what the banner will be fixed to, since that dictates eyelet spacing and whether pole pockets make more sense than eyelets. Check the finished size includes the hem allowance, so the visible graphic still matches what you expect once it's folded and welded. And if the banner is going somewhere genuinely exposed, ask specifically for the heavier material and wind slits rather than assuming a supplier will add them automatically.
The short version
- Match material weight to how long and where the banner will be displayed.
- Hemmed edges are essential for outdoor or tensioned banners.
- Eyelets roughly every 500mm, closer for windy or larger banners.
- Add wind slits for anything exposed to open air.